The Power of Light Probes in Unity
What is lightmapping? And what are Light Probes and when/why you should use them?
Lightmapping
Lightmapping stores our light information for later use. It allows you to add some global illumination, ambient lighting, and shadows. And by using Lightmapping the cost of this is much lower.
2 ways to bake your lights in the scene
- Progressive Preview
Allows you to bake the light in real-time.
If you are using Progressive Preview, I would recommend using the Progressive GPU (Preview) version
- Enlighten mode
The scene has to be baked before you can see any changes
Both of these have an option called Auto Generate. When this is on and you make a change on the scene, your light information on the scene will automatically update.

If you don’t have it on, you need to manually update this by clicking the Generate Lighting option.
All of these settings you can find from the Lighting tab.
To get the lighting tab, go to Window -> Rendering -> Lighting
And you can find these under Scene
Light Probes
Light Probes are more efficient for mobile games, they are cheaper to create lighting in scenes.
You create a Light Probe Group by going to the
Hierarchy and Create -> Light -> Light Probe Group.

In order that our Light Probe Groups work the objects must be static and lights must be baked.
With this light probe group, you can create an area where you want to acknowledge dynamic lighting. Now, this is which we make, takes static lighting (which is baked) and passes it into other dynamic objects.

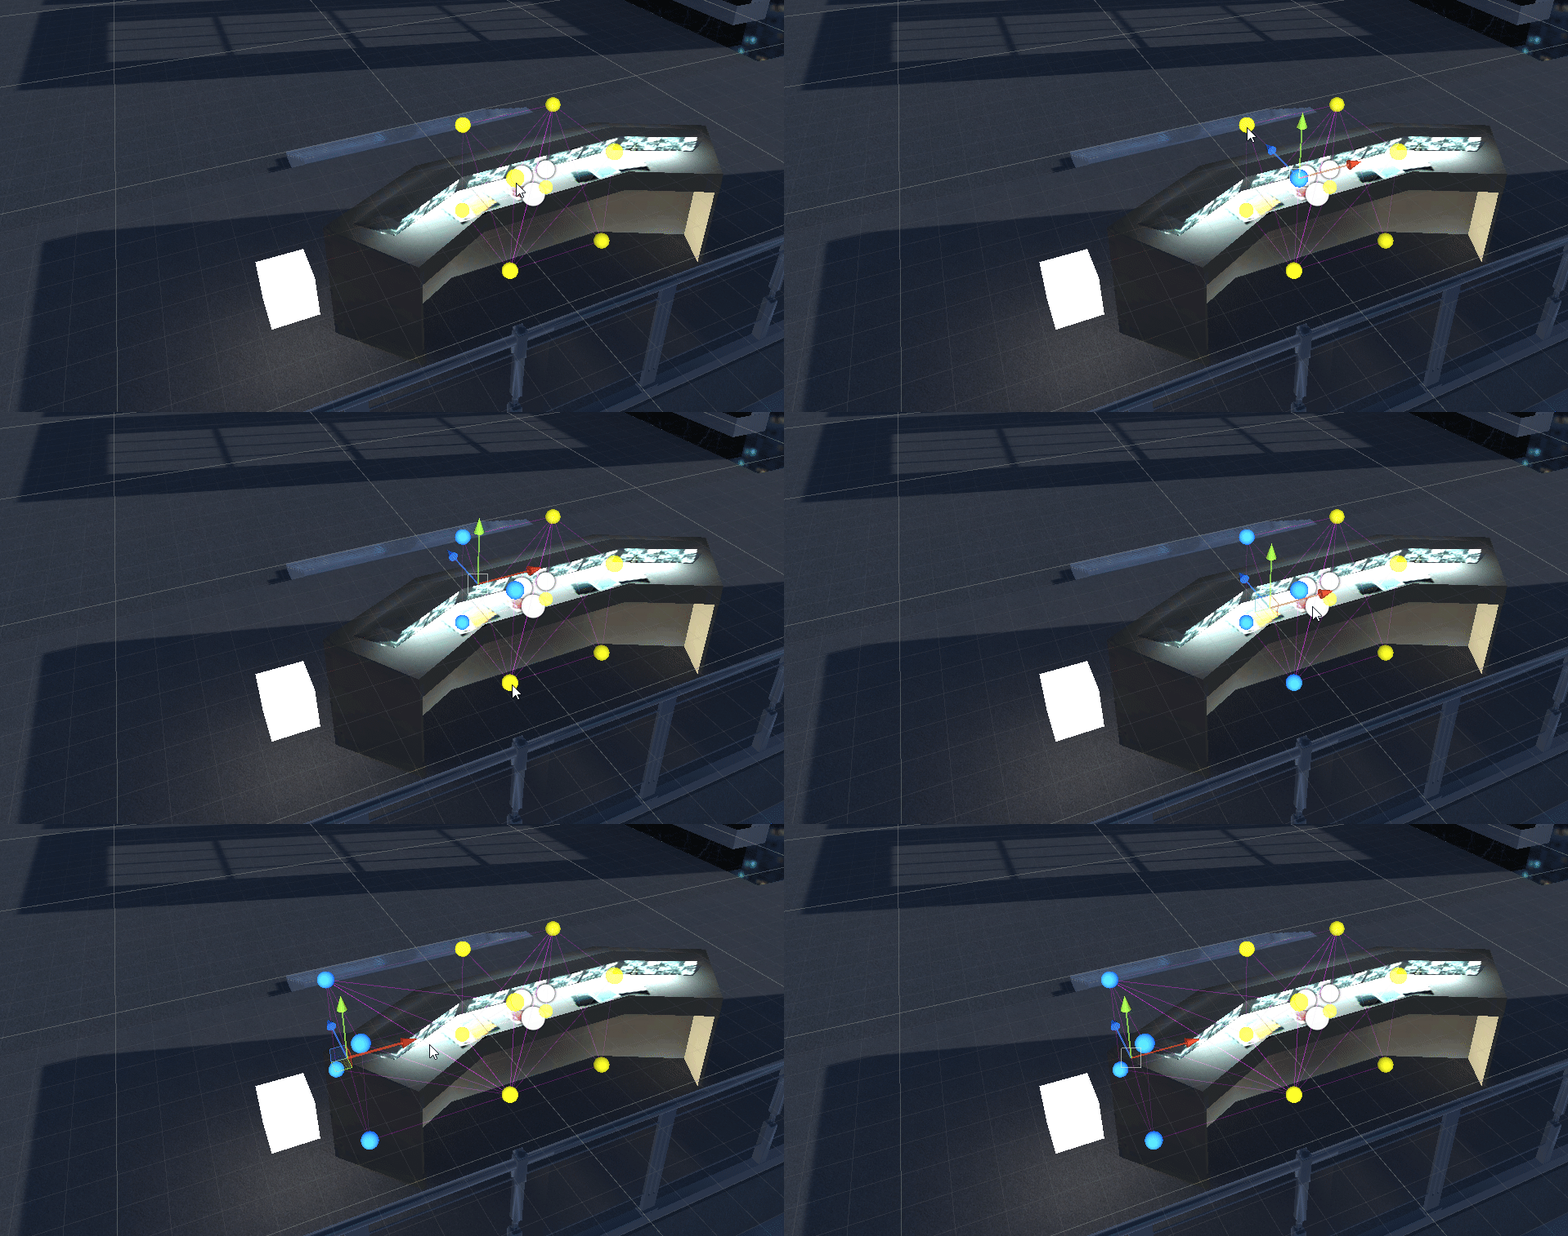
Here I created the area I want with choosing the light yellow points and hitting Duplicate Selected and moved those where I wanted.
For example if the player goes into this area, the light will be passed to that object. And makes it look more believable that there is light coming from the monitors.

Lighting is one of the important parts of a game. It makes your scene to look believable. Hope this information helped you in your game development journey.
